The Equalizer in Music Speed Changer - EQ Explained
Music Speed Changer has an 8-band graphic equalizer for amplifying and attenuating a track's audio. The center of the bands, from low to high, are 60, 150, 400, 1K, 2K, 4K, 8K, 16K Hertz. The bands' vertical sliders allow you to control the gain of each of these bands separately. This is useful for boosting the bass, filtering out high frequencies, or tuning in on one band. The equalizer can be added to custom editor layout or accessed directly as a component preset.
Open the Editor
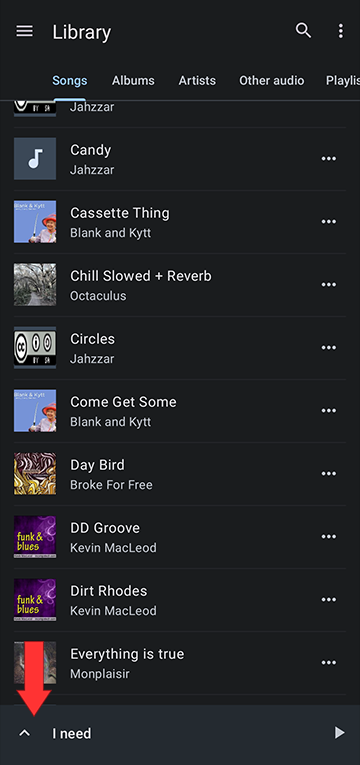
Open the Editor Layout Menu by tapping the slider/gear icon at the top of the editor. Here you can select one of the editor presets or you can customize the editor
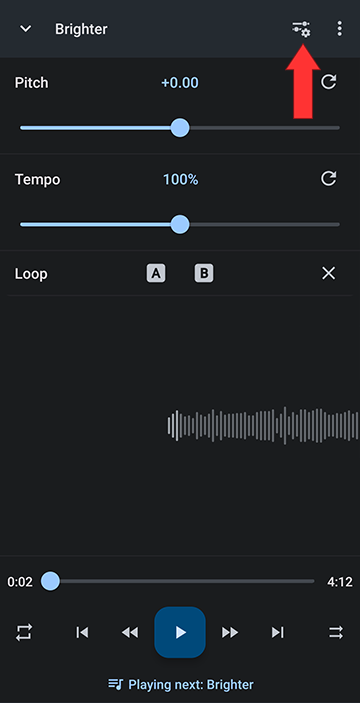
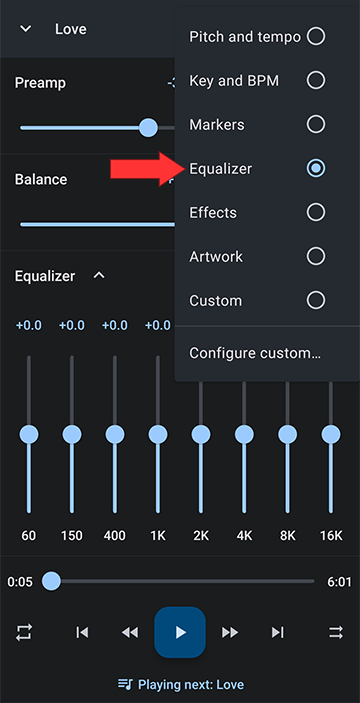
Select Equalizer
Open the Editor

Open the Editor Layout Menu by tapping the slider/gear icon at the top of the editor. Here you can select one of the editor presets or you can customize the editor

Select Configure custom
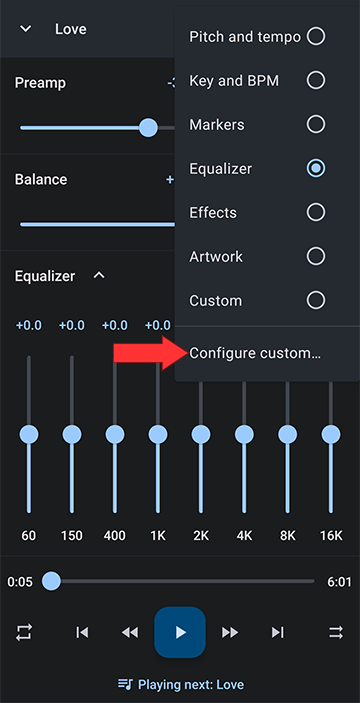
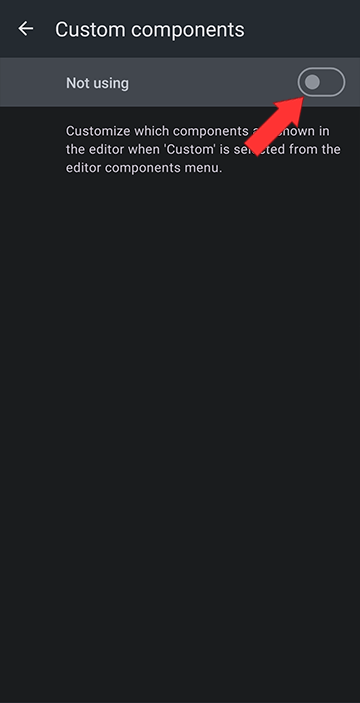
Turn on Custom components
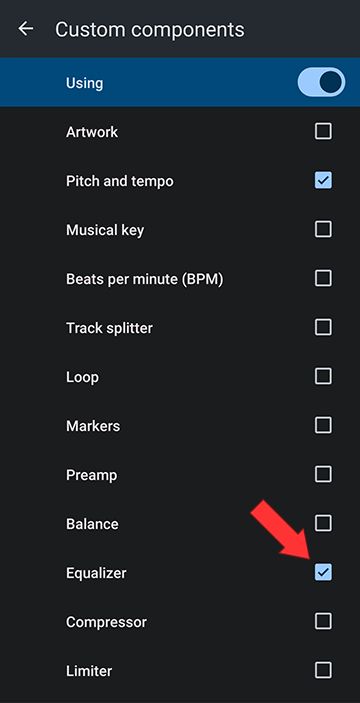
Check the Equalizer checkbox
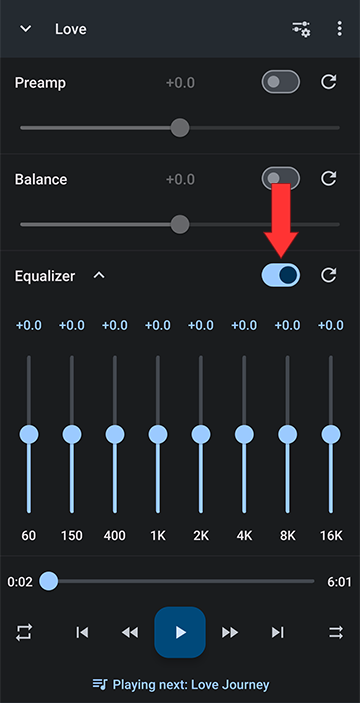
Turn on the Equalizer
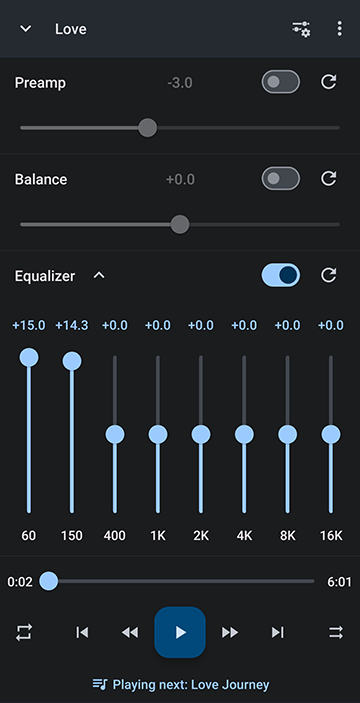
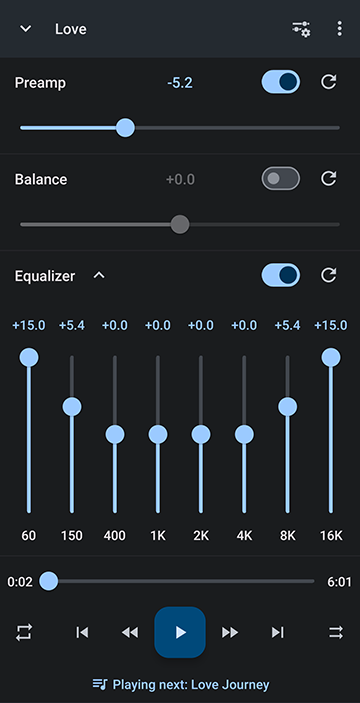
Lowering the preamp to counter act clipping when boosting the signal with the equalizer
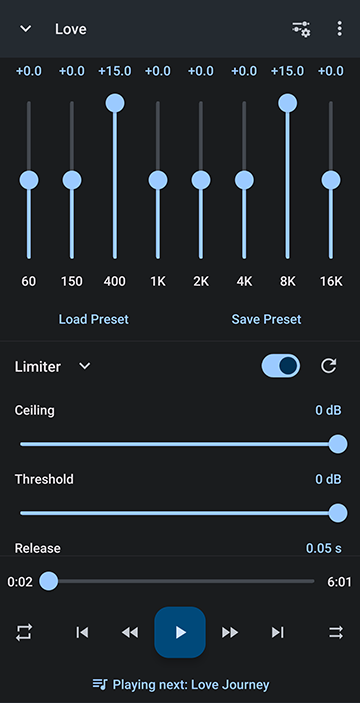
Using the limiter to counter act clipping when boosting the signal with the equalizer
Getting Started with the Equalizer
The quickest way to use the equalizer is from the component presets, under the player main menu, Editor components:Open the Editor

Open the Editor Layout Menu by tapping the slider/gear icon at the top of the editor. Here you can select one of the editor presets or you can customize the editor

Select Equalizer

Adding the Equalizer to your Editor Components
Alternatively to using the equalizer component preset, you can add it to your controls by using a custom setup:Open the Editor

Open the Editor Layout Menu by tapping the slider/gear icon at the top of the editor. Here you can select one of the editor presets or you can customize the editor

Select Configure custom

Turn on Custom components

Check the Equalizer checkbox

Turn on the Equalizer

Using the Equalizer
The vertical sliders control each band's gain. From left to right, the frequencies are from low (bass) to high (treble).Bass Boosting with the Equalizer
To bring out the bass in a track, you want to amplify the low frequencies. To turn up the low frequencies move up the left sliders.
Filtering out Low and High Frequencies
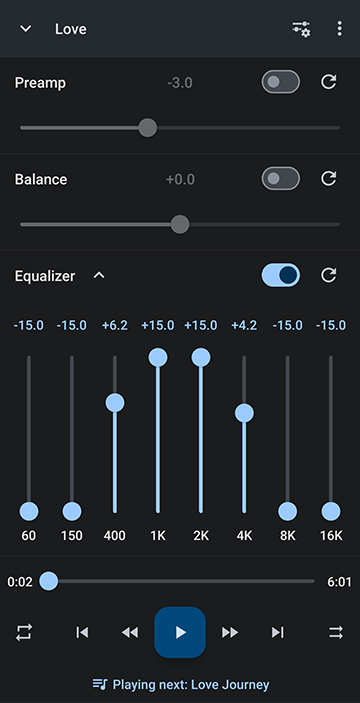
To get a low/high filter effect, you can attenuate (turn down) the low and high frequencies by moving down the outer most sliders. For maximum effect, amplify (boost) the mid range signal by moving up the middle sliders.
Dealing with Distortion aka Clipping
Clipping occurs when an audio signal is boosted above it's maximum level. This can be a common occurrence when boosting specific frequencies with the equalizer. To counteract clipping, lower the preamp gain to provide headroom for boosting frequencies with the equalizer. The compressor and/or limiter may also be helpful with the added benefit of less attenuation of the unboosted frequencies.Lowering the preamp to counter act clipping when boosting the signal with the equalizer

Using the limiter to counter act clipping when boosting the signal with the equalizer

Howdy, Stranger!
It looks like you're new here. If you want to get involved, click one of these buttons!


Comments